
How I Built a 3D Web3 Game with Thirdweb Unity SDK
A detailed step-by-step guide on how I created a 3D game with Unity Engine and thirdweb gaming kit.


In this article, I will show you how I built my first 3D Endless-Runner game with Unity Game Engine and how I integrated some unique web3 functionalities into the game with thirdweb's gaming kit.
I will go over:
How the game works && My Inspiration behind the game
How I setup the Game Development Environment
How I added Web3 functionalities using thirdweb Gamekit; and
How I deployed the game live on IPFS in 3 minutes
Disclaimer: I'm not a game dev expert, I embarked on this project because of my curiosity to see how web3 can be integrated into normal games"
Overview of the Game: The Inspiration
Being a game lover, I thought about different game mechanics ranging from challenging 2D games to countless 3D options.
After much thought, my love for games like Sonic Dash, Temple Run, and Subway Surf eventually led me to work with something more robust that generally resonates with the web3 and crypto space.
This led me to build Ninja Dash 3D
Game Link: https://gateway.ipfscdn.io/ipfs/QmT46yYKbD1BsWTY3pajtmtLQU1a9LbkqAZoPJA4hayf5K
Mint Pass Here:
How the game works 🎮
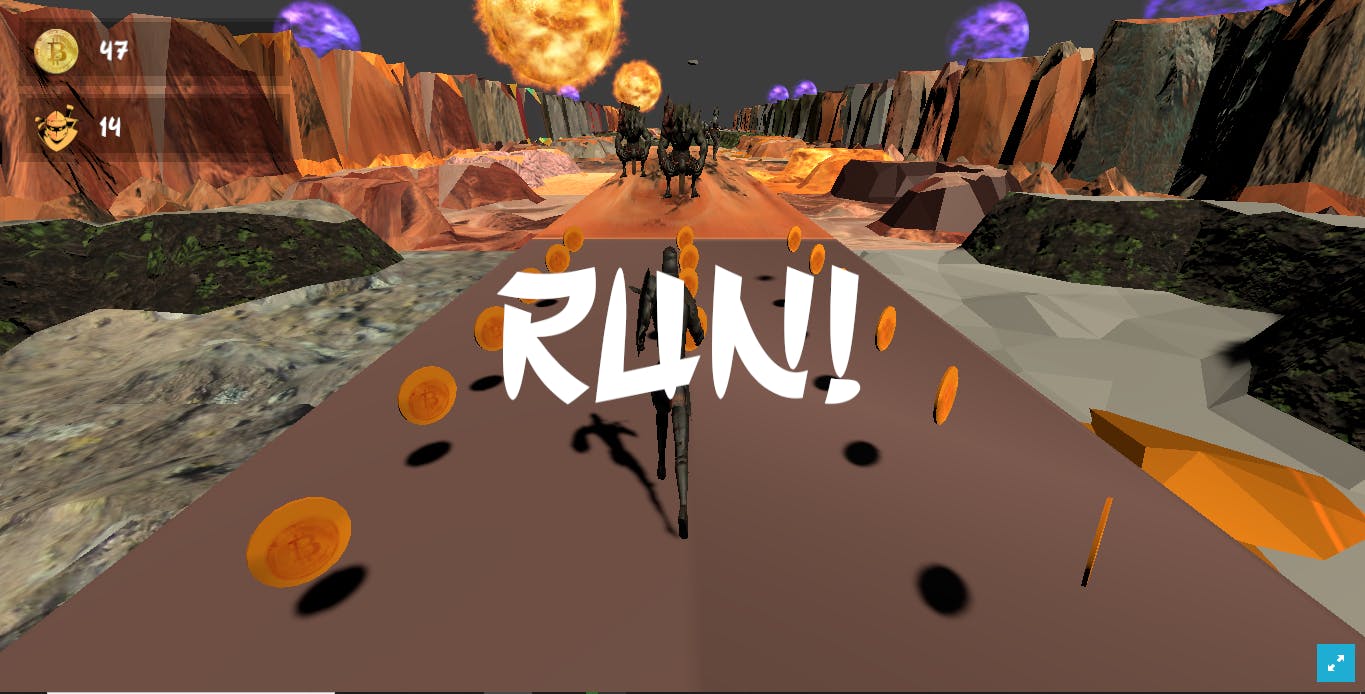
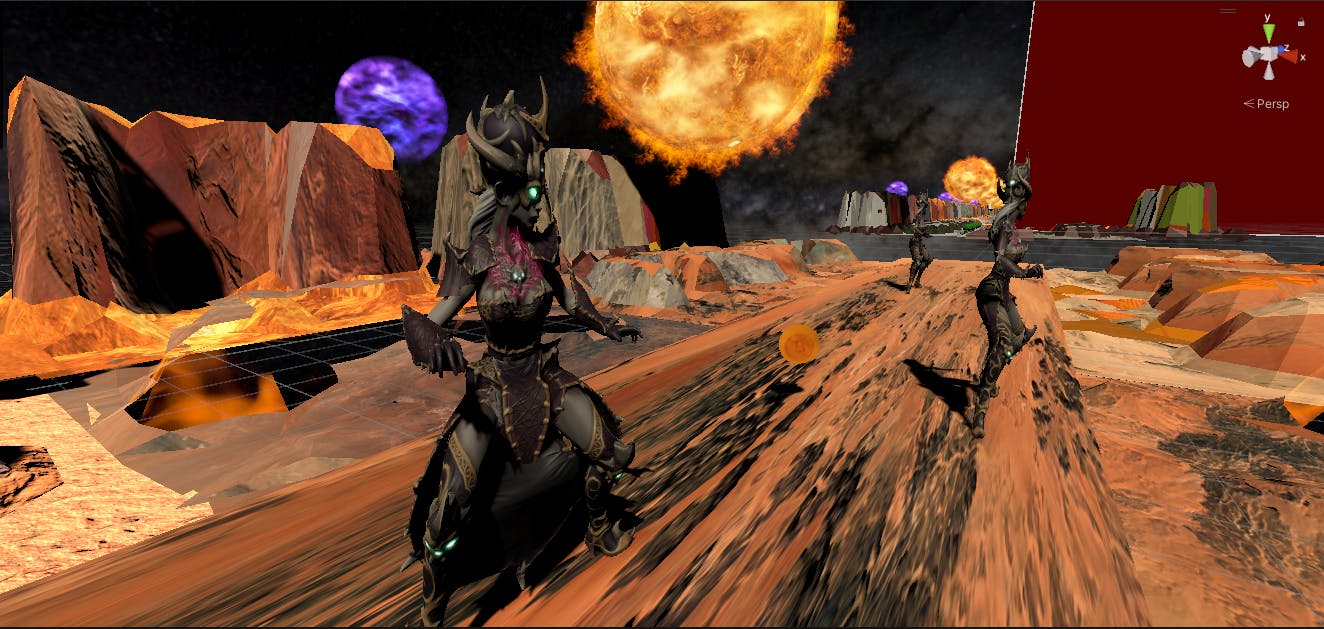
Ninja Dash 3D is a simple yet fun 3D platformer game where a player runs through obstacles to collect bitcoins in a “space-like” environment.
The main objective behind the game is to collect as many Bitcoins in the game till you find a unique hidden coin (that spawns through the help of code).
Collecting this coin is the major goal of the game. Once collected, the winner gets the opportunity to mint a unique reward Ninja NFT directly without having to close the game.
The player must keep running till s/he finds this “lost coin”
A little spoiler here, the coin spawns at this location when the player collects more than 100 $Bitcoins in total
Now, to the main question, how did I build this game?
My Build Process⚔️:
The Game Development Phase🕹️
Right from the start, the choice of a game engine to work with wasn’t disputed. I decided to work with Unity.
First, because it’s very beginner-friendly and second (the major reason), the thirdweb SDK that will enable web3 functionalities, mainly works with Unity, at least as of now.
With that sorted, I installed the Unity Editor (version 2020.3.43f1) with Unity Hub.
Please note: That using the Unity Editor
2021.3.18f1 LTS versionis a better recommendation to avoid errors- I later switched my project to this version.Also, you can learn more about Unity installation here. For more detailed insights watch the first 9 minutes of this Youtube Video by freecodecamp.
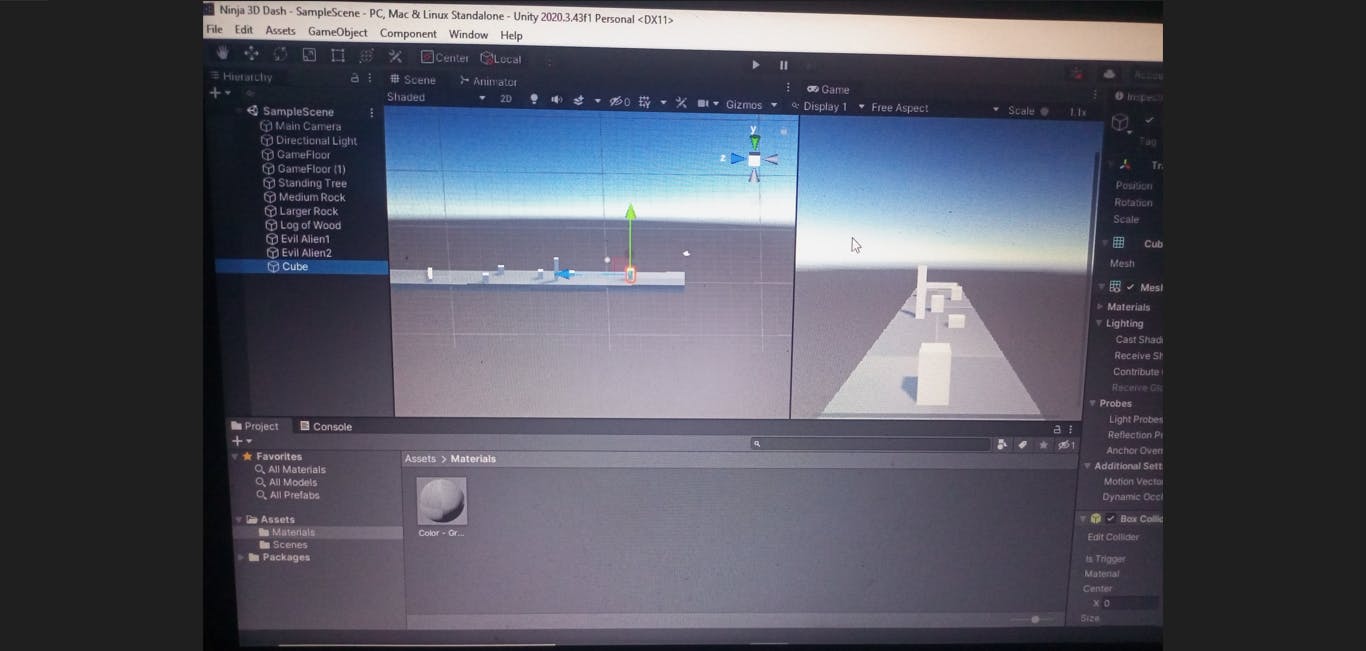
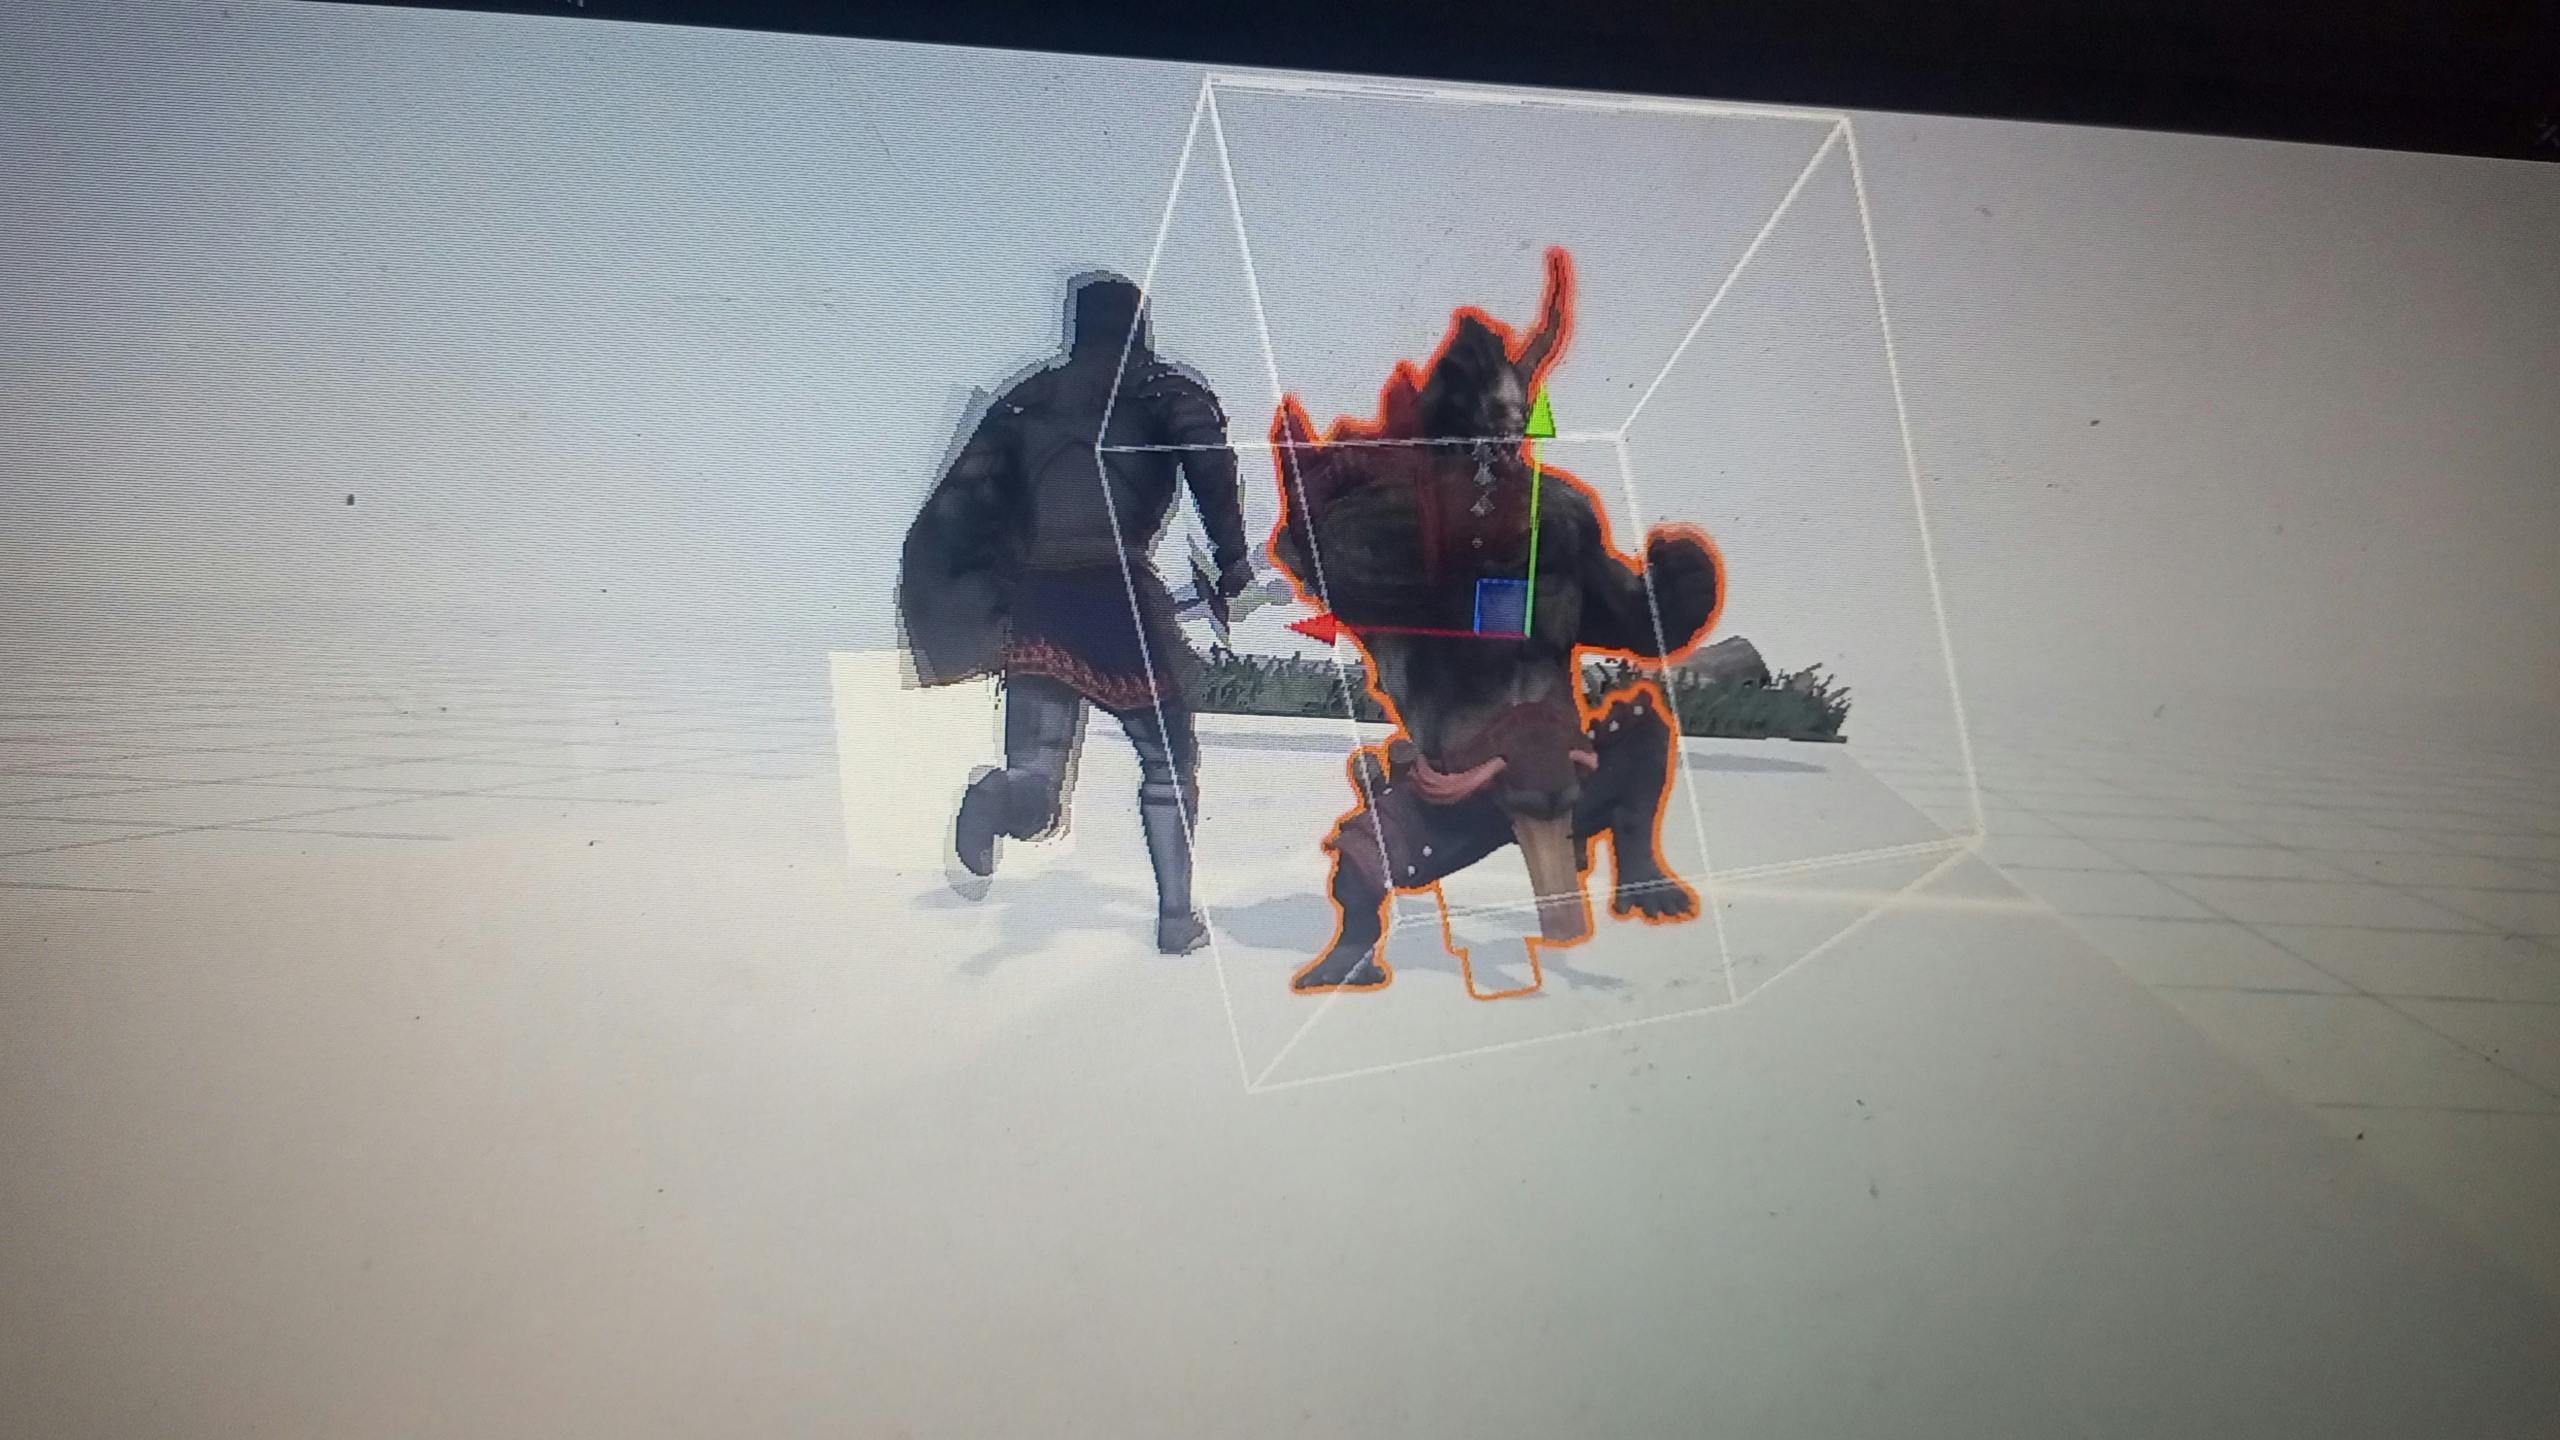
The building phase commenced with building the 3D models.
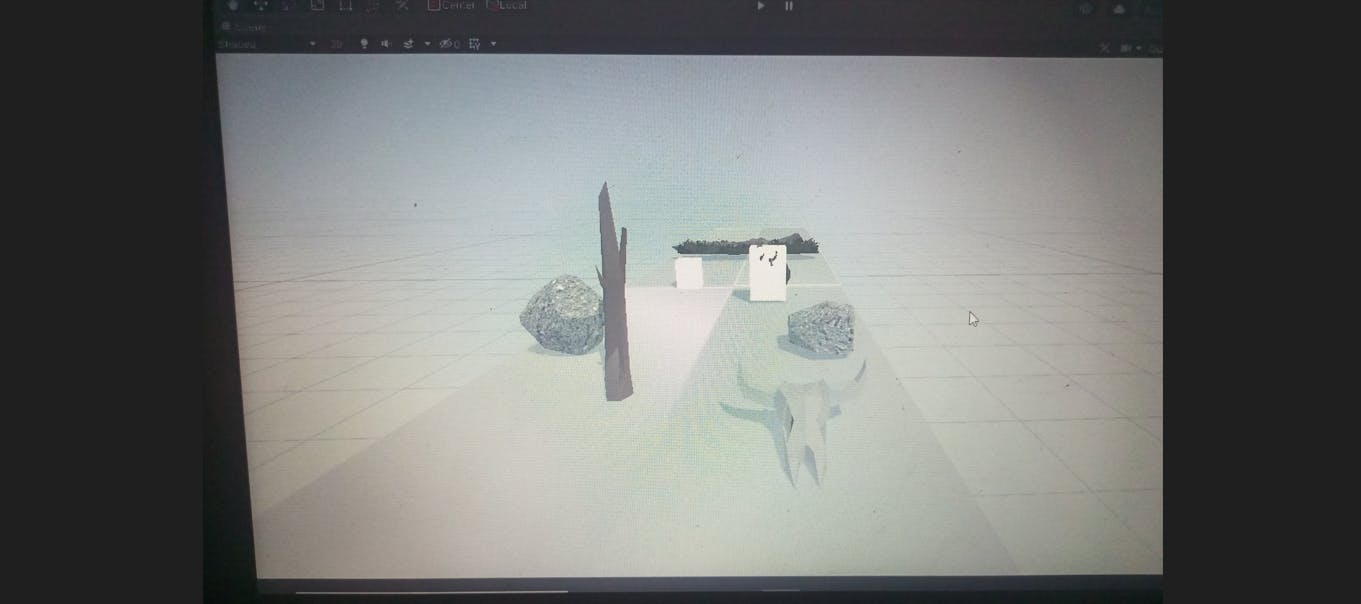
My idea was clear on what I wanted to build so I set up some raw 3D objects to represent the game characters and other prefabs that will be reused in the game.
After laying this foundation, I headed to Mixamo to get free animated 3D characters for my game.
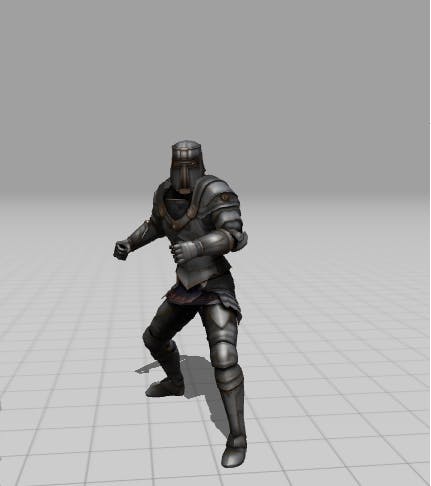
Back in unity, I carefully nested these characters (the player character and two (2) enemy characters) into the game objects already built in unity.
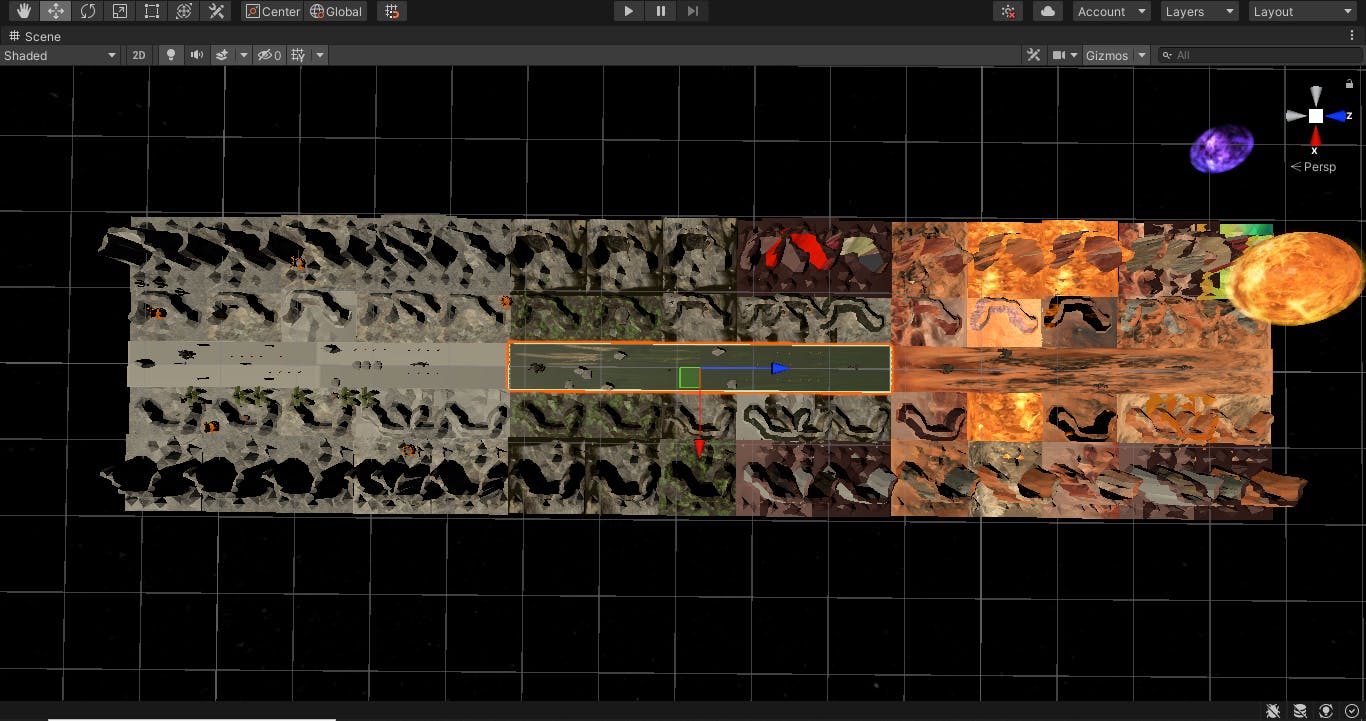
In continuation, I leveraged inspiration from scouting the Unity Asset Store to build some custom assets for the game.
For example, the rocks, the collectable bitcoins, gold wells, floating bitcoin rocks, and rocky terrain in-game sections were all carefully designed during the 3D modelling phase.
Other assets like the burning Sun, the Galaxies and Nebulae were imported from the asset store.
In addition, through the help of code logic, the different 3D environments are randomly generated to keep the game running infinitely.
With all this setup, the 3D environment was starting to look good.
For the backend side of things, I leveraged the C# (C sharp) language to handle the game logic and functionality.
Check out this GitHub repository for all my backend scripts
NFT Contracts Deployment 🎨
To add the web3 spice, I imagined the game to only be accessible to holders of a specific NFT. Also, players who complete the game’s objective should be rewarded in form of NFTs. So, it was time to build these NFTs.
Luckily, the thirdweb dashboard toolkit already made this process seamless.
P.S: Check out my article on the thirdweb dashboard for more details on this
I deployed the NFT contracts using the thirdweb CLI by running the following command in my VSCode Terminal:
npx thirdweb create --contract
Then, selected the drop extension package to install the necessary contracts and dependencies.
After modifying the contract to suit my project requirements, I ran the codes:
yarn build
yarn deploy
The link generated in the terminal directs to the thirdweb dashboard.
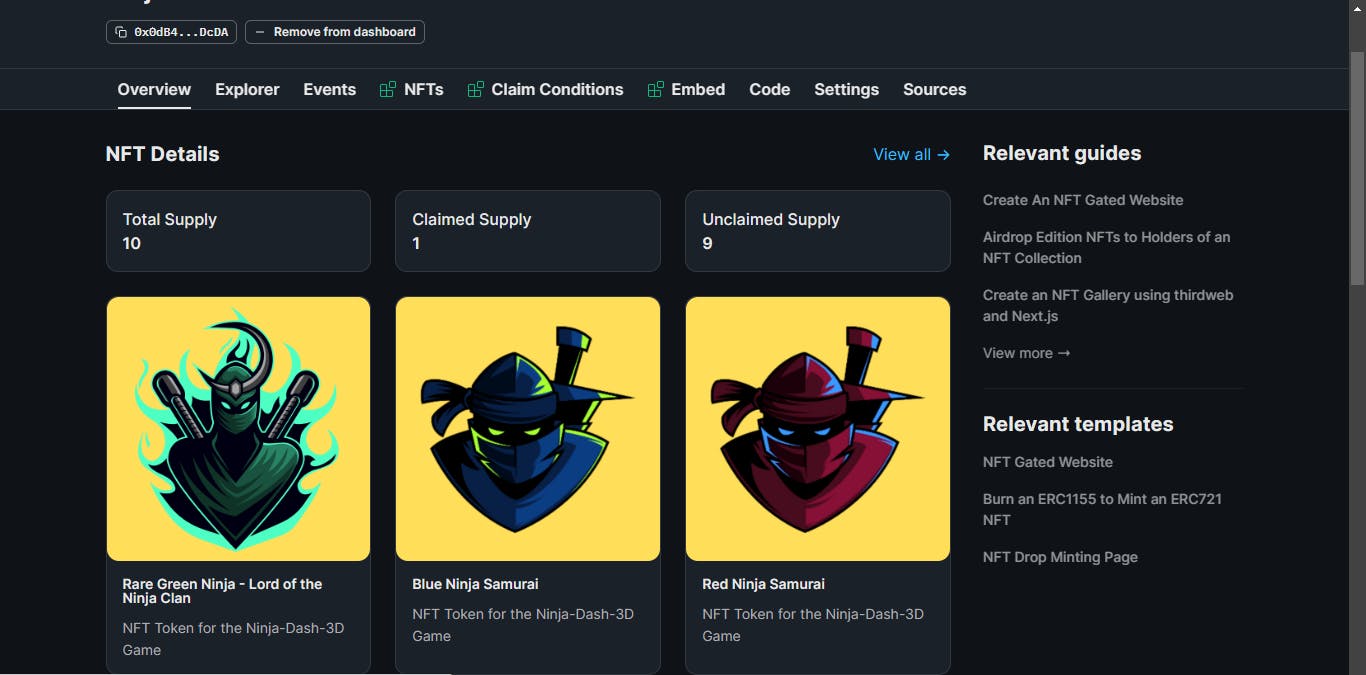
Following the link displayed in the terminal, I connected my wallet, added the NFT Images and metadata, then selected the claim conditions and, in minutes, the contract was live on the goerli testnet 🎉
P.S.: To learn more about this, check out this article by the thirdweb team on How to Create An NFT Drop Contract.
I repeated this process for the RewardNFT also.
Finally, to make it easy to mint the game’s NFT pass, I built a simple minting site for this.
You can access the dApp here
Now, the interesting part is how I integrated web3 functionalities into the game.
Web3 Integration 👷
For the web3 aspect, some of the functionalities that were to be implemented include:
A connect wallet button
Checking if the player has the NFT pass before accessing the game.
Minting a reward NFT Token upon game completion
Since Unity can’t directly speak to the blockchain, there’s a need for an external SDK to handle the web3 integration.
And, here is where the thirdweb gaming kit SDK comes into play.
For a bit of context, the thirdweb Gamingkit is an SDK for building decentralized games.
To use the thirdweb SDK, I first had to install the latest package (v1.1.2)
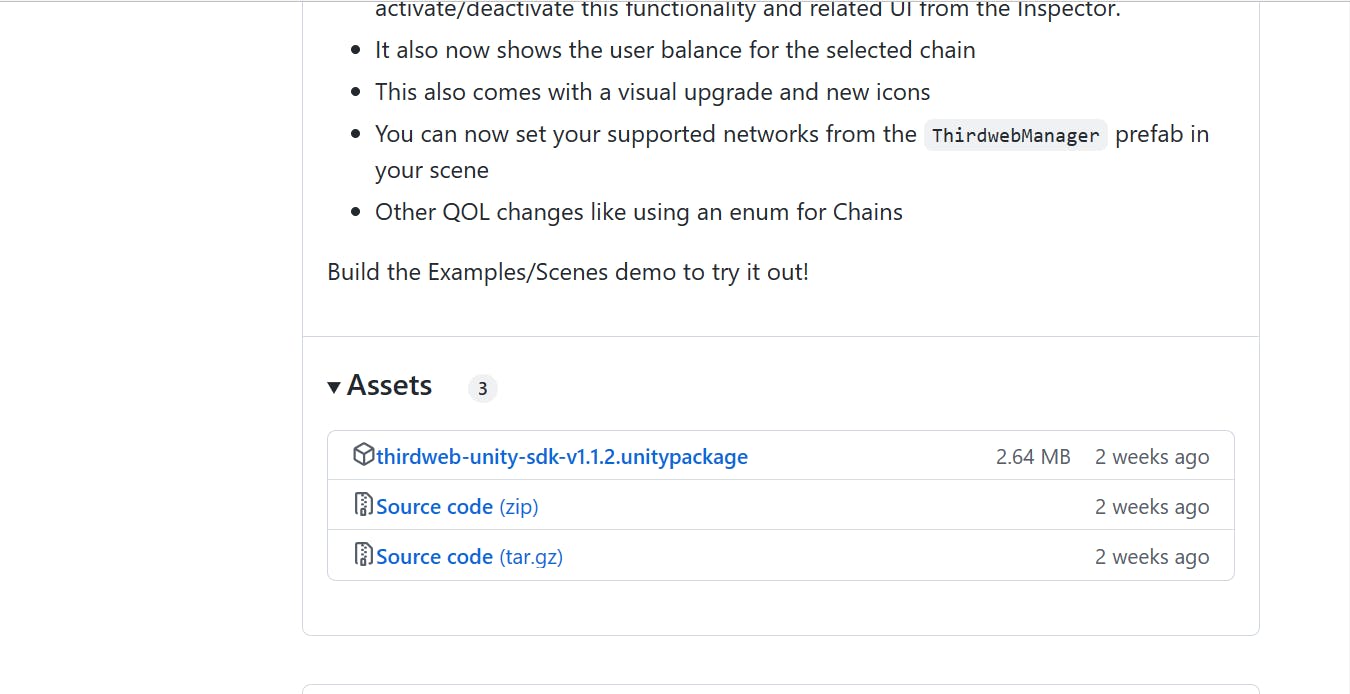
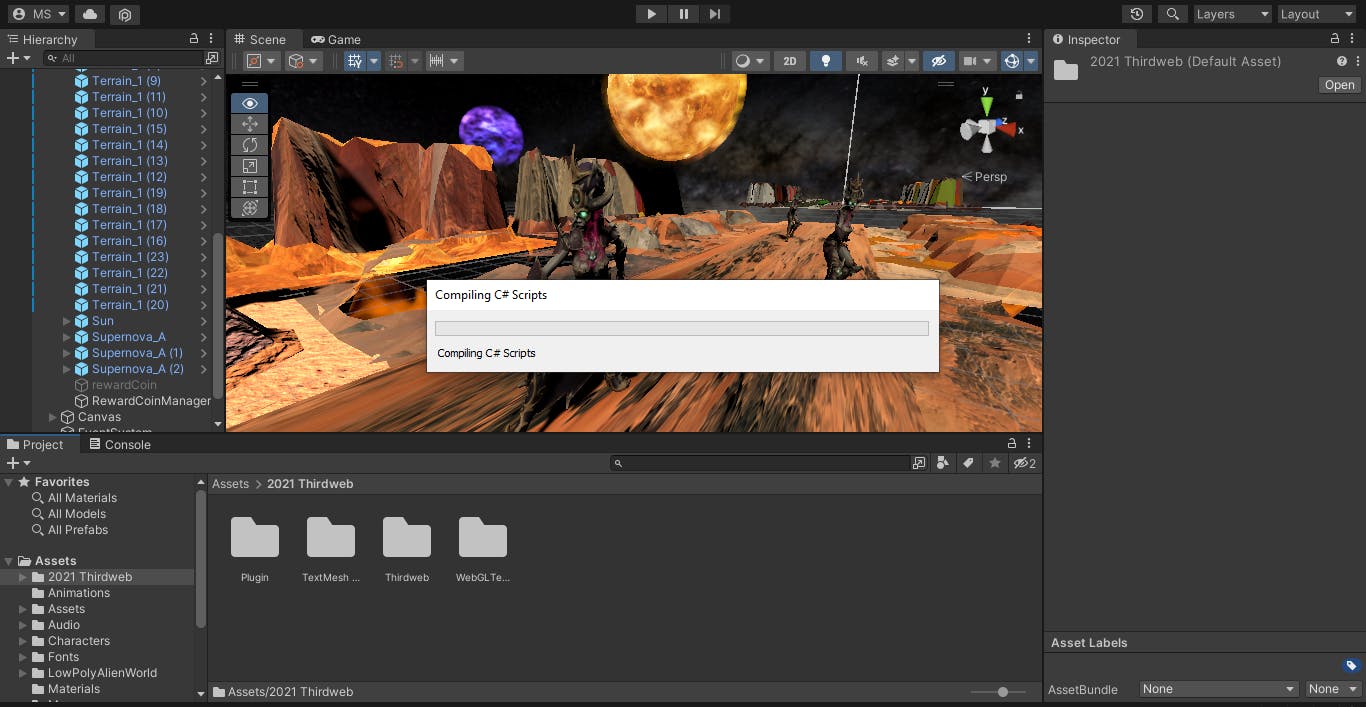
The imported packages looked like this:
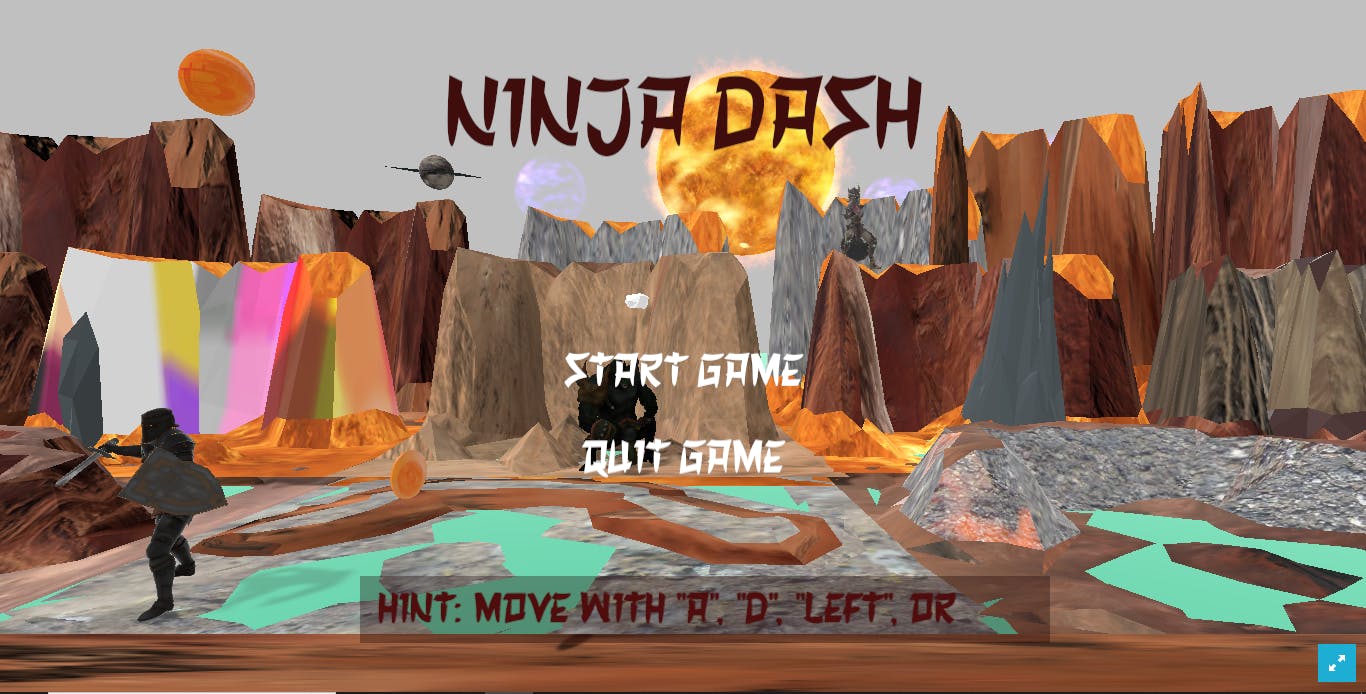
To add the connect wallet functionality, I created an entirely new scene that renders a dynamic user interface depending on the player’s connection status.
Check out this article by thirdweb, for a detailed step-by-step guide on how to Add a Connect Button Wallet to your Unity Game
The final output ended up like this:
To require the NFT ownership before accessing the game, I used thirdweb’s SDK to check the player’s balance on the NFT contract address. This was implemented using the code snippet below:
using UnityEngine;
using System.Threading.Tasks;
using Thirdweb;

public class StartManager : MonoBehaviour
{
   public async Task CheckBalance()
    {
        Contract contract = SDKManager.Instance.SDK.GetContract("0x0dB40290F8122CFeB1f086601318e238692fDcDA");

        string balance = await contract.ERC721.Balance();

        float balanceFloat = float.Parse(balance);

        if (balanceFloat == 0)
        {
            ownsNFTTxt.text = "Without your pass, you can't enter the Clan!";
            return;
        }

        ownsNFTTxt.text = "Welcome to the Game";
        enterBtn.SetActive(true);
    }
}
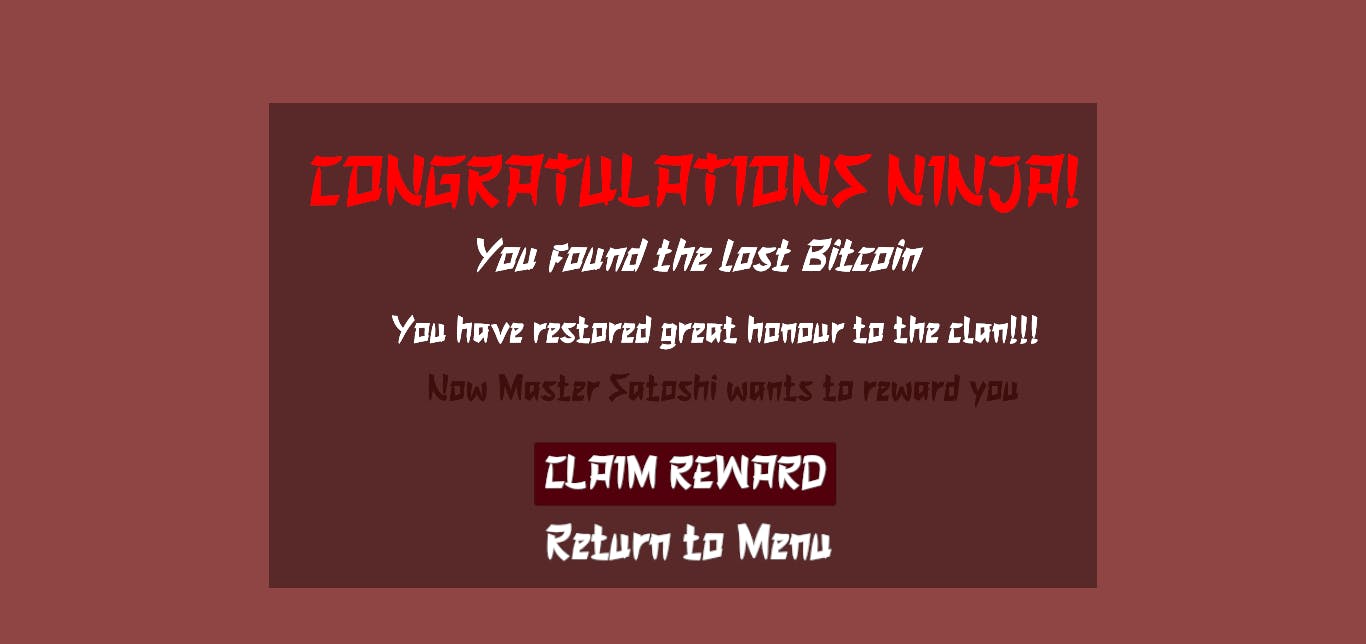
Finally, to implement the NFT reward token, I created a new scene that is triggered when the reward token is collected.
This is executed through the code logic below:
using UnityEngine;
using UnityEngine.SceneManagement;

public class RewardManager : MonoBehaviour
{
    void OnTriggerEnter(Collider other)
    {
        SceneManager.LoadScene("Reward");
    }
}
Once this scene is displayed, the player gets to mint the NFT by clicking the “Claim Reward” button.
Using the SDKManager.Instance, the thirdweb SDK gets the contract’s address and calls the Claim function in the contract directly in Unity. As seen below:
// The Claim Function
    public async Task ClaimNFT()
    {
        Contract contract = SDKManager.Instance.SDK.GetContract("0x8743315AFf1F2054Ea890f2c89cB5875cd49fb97");
        await contract.ERC721.Claim(1);
    }

    public async void Claim()
    {
        await ClaimNFT();
    }
This prompts the MetaMask window and upon approving the transaction, the player mints one NFT to their wallet.
Deployment and Hosting on IPFS 🚢
What is a web3 game if it’s not fully decentralized?
Instead of hosting on centralized servers, I decided to deploy and host Ninja Dash on IPFS, (i.e. InterPlinary File System - decentralized storage) using one of thirdweb’s features called thirdweb Upload in just one line of code!
Yes, that’s crazy!!
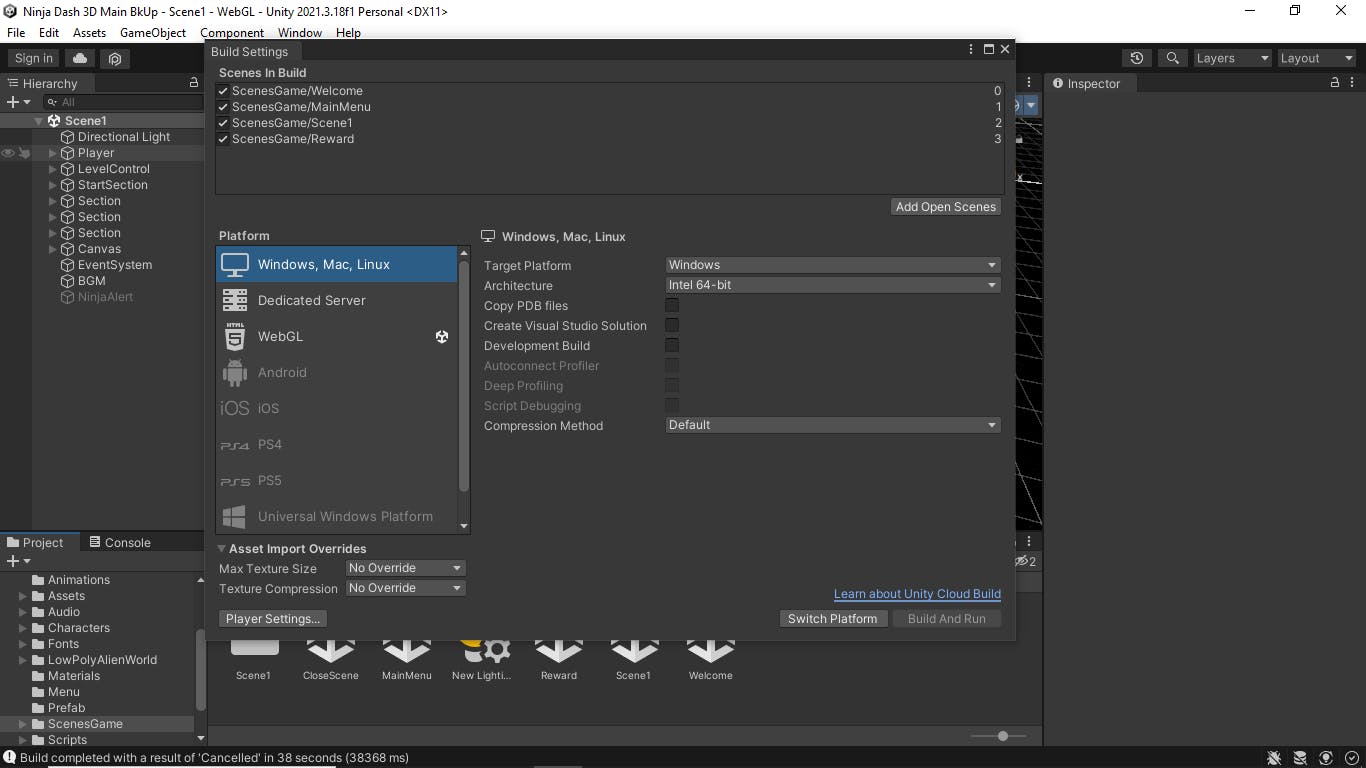
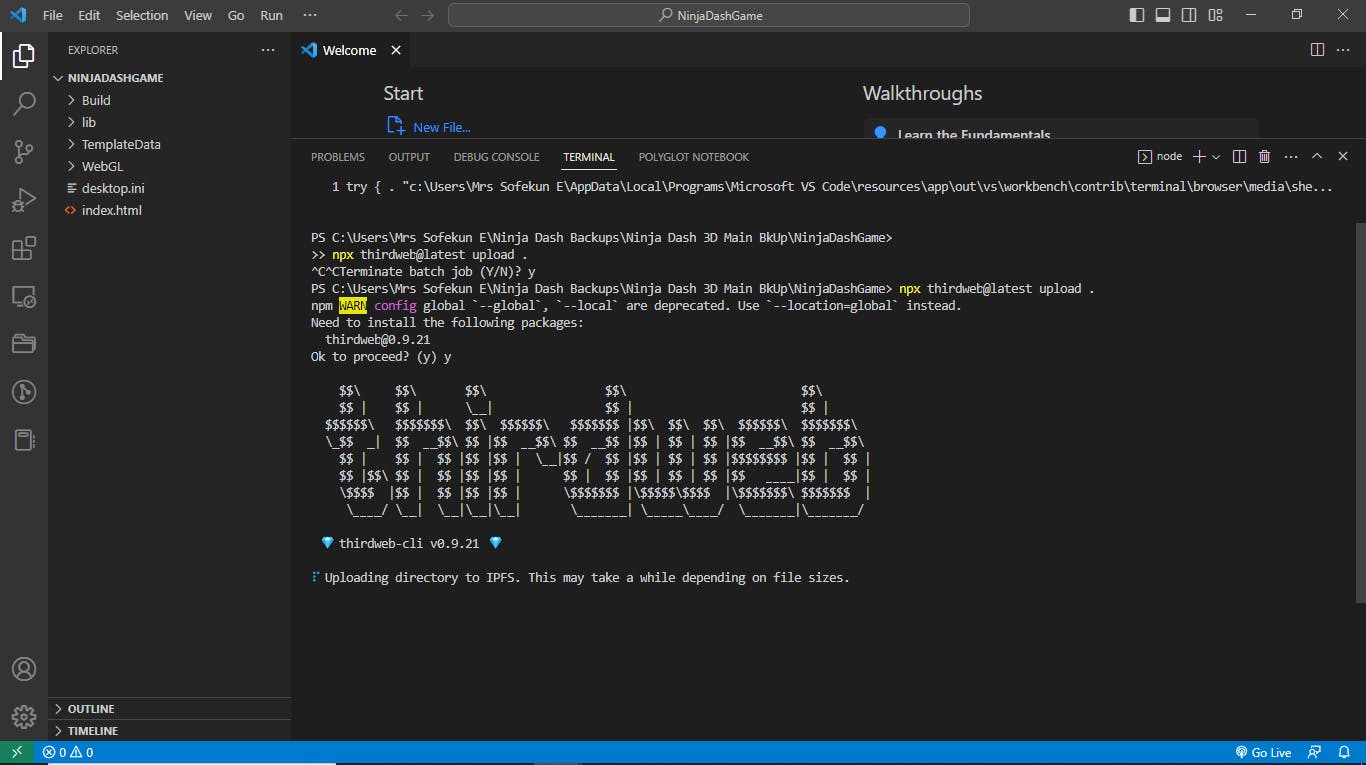
After successfully building and running my game inside Unity, I opened the directory in which I built my game and ran this line of code:
## This code was run directly in my game's directory
npx thirdweb@latest upload .
The execution of this command uploaded the necessary game files/assets to IPFS and generated a link to my game
Finally…
Although the game might not be spectacular when compared with other games out there, however, this game depicts a clear instance of adding utility to NFTs.
By reverse-engineering this game’s utility, game developers can:
Raise revenue for their game through selling NFTs;
Restrict access to OG members/supporters during Beta testing;
Sell game items as NFTs and get the proceeds directly into their wallet - No gateway/intermediary needed!
For further reading:
I'd love to connect with you on Twitter | Linkedin | GitHub
Thank you for reading :)